Setting up devstack: an openstack development environment on ubuntu machine, the simplest way


If you're an Outreachy intern or new to contributing to OpenStack, this blog provides a step-by-step guide for setting up OpenStack Dashboard using DevStack on an Ubuntu machine. Whether you're a coding pro or just starting out, this guide aims to simplify the process, making your Outreachy internship a smooth entry point to contribute to the OpenStack community. Ready to begin? Let's get started!
OpenStack is a vast codebase comprising numerous repositories. Setting up DevStack (the OpenStack dashboard) locally is not recommended due to resource-intensive codebase. Instead, it's advised to deploy an Ubuntu server on a cloud platform. Assuming this setup is done and SSH access is granted from the user's machine, let's dive into the details to make your OpenStack journey more accessible and efficient.
ssh user@ip-adress
After sshing into the Ubuntu machine, the next step will be to create a user we can use specifically for devstack. In your terminal run the following commands:
sudo useradd -s /bin/bash -d /opt/stack -m stack
echo "stack ALL=(ALL) NOPASSWD: ALL" | sudo tee /etc/sudoers.d/stack
sudo loginctl enable-linger stack
The initial command creates a user "stack" with bash as the default shell and /opt/stack as the home directory. The second command adds a sudoers configuration, permitting "stack" to execute commands without a password prompt. This is a common practice for specific sudo privileges. The third enables user lingering, keeping the "stack" user's session active even when not logged in, facilitating the continuous operation of background processes or services.
if [ ! -e /opt/stack/.ssh/authorized_keys ]; then
    sudo mkdir -p /opt/stack/.ssh
    sudo chmod 0700 /opt/stack/.ssh
    sudo cp ~/.ssh/authorized_keys /opt/stack/.ssh/authorized_keys
    sudo chown -R stack: /opt/stack/.ssh
    sudo chmod 0600 /opt/stack/.ssh/authorized_keys
fi
The above command creates an 'ssh' directory in the stack's home directory and copies the necessary keys, allowing SSH access using the stack as a user. After this lets change the current user to stack and do our thing.
sudo su - stack
ssh-keygen -t rsa -C stack@$HOSTNAME
The above commands will change the user to stack, and generates a new ssh key which is signed with that user.
After that let's clone the devstack repo and cd into it.
git clone https://opendev.org/openstack/devstack
cd devstack
We cd into our folder the next step is to create a local.conf file inside the folder.
vi local.conf
The above command will create the file and open it with vim. Hit i to enter insert mode on vim editor and paste the content of the dummy driver file from this link. save and exit the file by pressing esc then :wq , this will save and close the file.
After preparing our setup, execute the command to set up DevStack, preferably within a tmux environment. we can create a new tmux using tmux new -s devstack and in in the tmux run ./stack.sh.
Wait for the installation to finish and if the installation is complete you should see something similar like this at the bottom of your terminal:

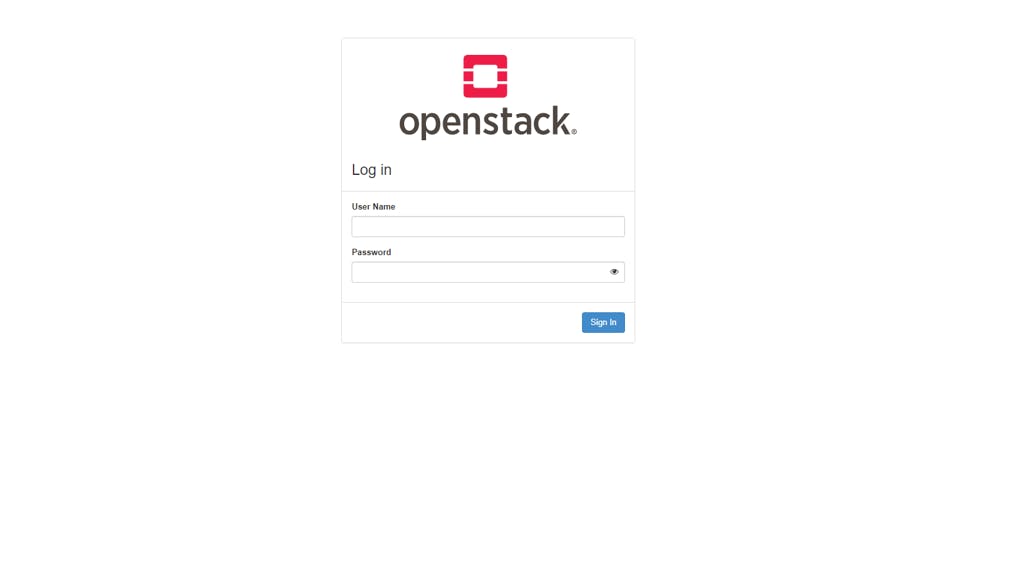
Congratulations! DevStack is now deployed on your Ubuntu machine. Access your dashboard by entering your machine's IP address into the browser. It will display something like this:
That concludes our guide. Thank you for following along! If you have any questions, feel free to reach out. Best of luck with your endeavors!